Print Your Own Iron-Ons – Tips & Tricks

Print your Own Iron-ons : Tips and Tricks for Success
Make your Own Iron-on Embellishments
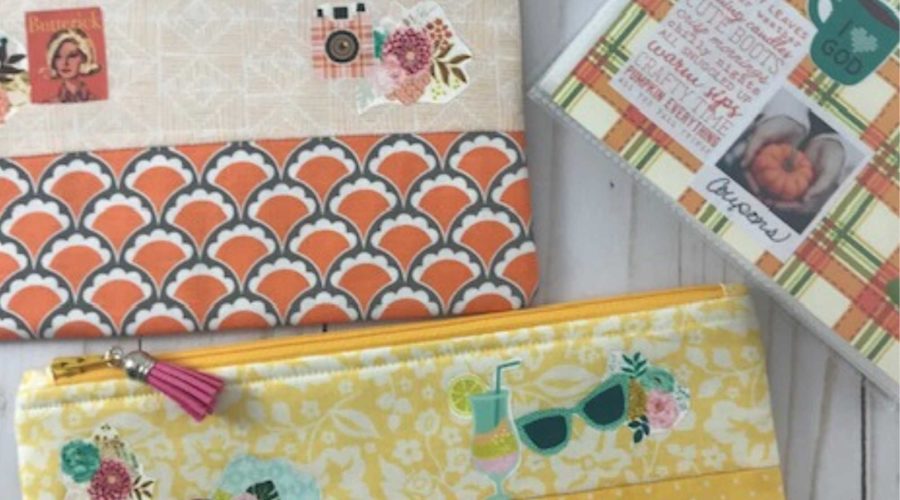
Did you know that you can make your own iron-ons? With today’s amazing new craft tools it’s so easy to make your own iron-on embellishments. Turn those iron-ons into beautiful zipper bags for your purse, or for a gift!
I’m such a fan of quilted fabric zipper bags because they’re washable and, believe me bags that travel in your purse need to be washed a lot! You can purchase fabric zipper bags almost anywhere but I love to get them at craft fairs because there’s just something special about a handmade bag.
I also love to sew zipper bags. If you’ve never made one before and you’d like to try it, check out The Crafty Gemini’s Tutorial on YouTube.
My biggest complaint about zipper bags is that I can never find the exact fabric or embellishments that I want. Then I discovered printable iron-on sheets and my world changed!
Like this project? Check out all my purse accessories projects!
Here are my tips for printing your own glorious iron-ons
- You can buy the printable iron-on sheets from Cricut, Silouette, Avery and more. I purchased these on Amazon.
- If you have an ink jet printer, then most printable sheets will work for you. Check the labels to be sure though.
- If you have a laser printer (like me) you’ll have trouble finding iron-on sheets designed for your printer. If you can’t find them then you’ll need the ink jet iron-on sheet plus a fixative spray like this one because laser jet ink sits on top of the fabric whereas ink jet ink embeds into it. So you’ll print your sheet then spray it with a few light coats of fixative and then let it dry overnight before ironing it onto your fabric.
- Maximize your iron-on sheet. These things are pretty expensive, so I used Word and imported my pictures onto a letter sized canvas and then I crammed in as much clipart as I could on the sheet so that I’d have iron-on patches for everything.
- Be gentle! Excessive heat can curl and fade your graphics. Use an iron on medium heat (no steam) to hit the surface of the fabric, then place your decals on the warm fabric, cover with a press cloth and heat for about 30 seconds. You’ll want to repeat the 30 second press a few times until all parts of the iron-on decal adhere completely. You don’t need high heat to get it to stick–just medium heat and a few passes of the iron.


